

Post by Troy (Admin) on Mar 1, 2016 16:13:37 GMT
I want to try and put together some very basic information for those new to miniature painting. This is aimed at those who have never painted a miniature before and have no idea where to start and what they will need.
Luckily, TWD: All Out War miniatures are in one single piece and do not require assembly. However, picking up some good modeling glue (personally I prefer krazy glue gel) and an X-acto knife would be a good idea as well.
You will need:
• Primer - recommend aerosol spray-can types , suitable for plastics, I’d stick with miniature specific companies if you can.
• Brushes – at least two or three would be a good start: Fine Detail Brush (very small tip), Standard Brush (medium size tips) and a Base Coat Brush (larger tip).
• Paints – A nice selection of the colors you like, a starter set from one of the miniature specific companies would be a good place to start. (5-10 paints would make a nice start).
How to get started:
1. Priming – is a very important first step and one that must be done. If the minis are not primed then the paint you apply will not adhere as well, and will eventually rub off. The good news is, that this is a fast and easy step and in recent years a multitude of colored primers have come onto the market to help you lay down the base color as well as the prime in one step.
a. Ensure you minis are clean and free from dirt or residue
b. Select a warm dry place free of wind, to have better control of the spray can.
c. Keep the can back 6-8 inches from the mini and evenly coat the mini on all sides, on top and bottom, using short burst and not a continuous spray so you do not accidently over spray the mini.
2. Painting – now this step could go on forever, as there are many techniques, but for beginners we will stick with three basic techniques that will produce good results in the beginner stage. Some general tips are to ensure that you clean you brushes regularly every few minutes while you are paining and when changing colors, this will stop paint from drying and sticking to the brush. Simply dipping it in some water and drying it on a paper towel will do the trick. Also, clean the brush when you are done as well. Placing a few drops of the color you are using on a palette or a plastic surface and mixing in a drop of water to the paint will help with achieving smooth even coverage as well.
A. Base Coat – this involves painting on a single solid color to an area of the mini: Let’s say: blue for paints and red for a tee-shirt and steel for a gun. It is better to use multiple thin coats and allow them to dry, then a single thick coat which could clog up the mini’s details. (A Standard or Base Coat brush would work well for this step on larger areas, and a fine detail brush for small areas).
B. Highlight – there are many ways to do this, but for now we will stick with two basic types.
i. Directly painting on the highlights to raised sections and edges of the miniatures using a color that is slightly lighter than the base coat color you have applied. Using a fine tip brush with thin highlight lines will work best in this step.
ii. Dry brushing – this is a technique that can be used in many ways, highlighting is one of them. This involves applying paint to the bush (lighter than the base coat of the area you want to paint), then using a paper towel, remove most of the paint from the brush until only a little remains, then quickly stroke the brush over the area you want to highlight and the little paint remaining on the brush will be applied to raised areas on the mini. (the size of the area will help you determine which brush is best)
C. Shading/Washing – This step can be done before the highlight, but I like to do it after the highlight. This step will require a specialized paint called a Wash or Shade, these are very watery type paints, that seep into the recess of the minis then dry. They come in many colors, theoretically you can use an earth shade for almost any color base coat, but I recommended using a wash that is similar to the base coat i.e. green base coat, green wash. Simply load the brush with the wash and apply evenly to the entire area you wish to shade in the same fashion as a base coat. (Also, if you wish, you can skip the highlight step and simply base coat and wash for decent results).
3. Basing – this is an optional step. However, in the very least, I would suggest painting the bases a solid color (black or gray) to clean them up, because they will be messy after the painting process. The idea behind basing a mini, is to replicate the ground or surface a mini would be standing on. Basing a mini involves gluing flock or sand, (or any other type of material you think will achieve the look you are going for), to the base, then painting it up to replicate ground. This could be a grassy field or a paved surface.
More info to come….
Here is some quick info on paints from the Army Painter Range (just to get some discussion started on this topic):
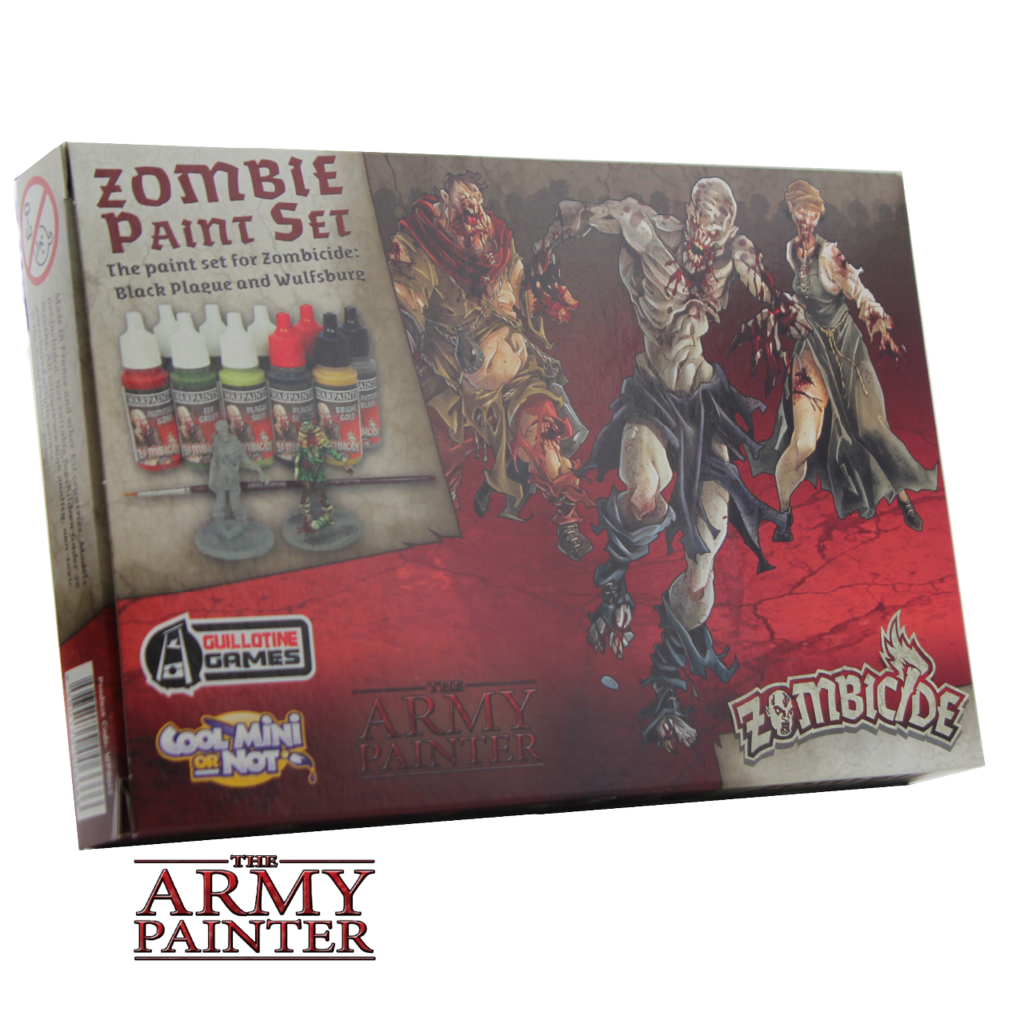
Army Painter, considering their ties with Zombicide , have some great starter sets for good prices that can really help a newbie out:
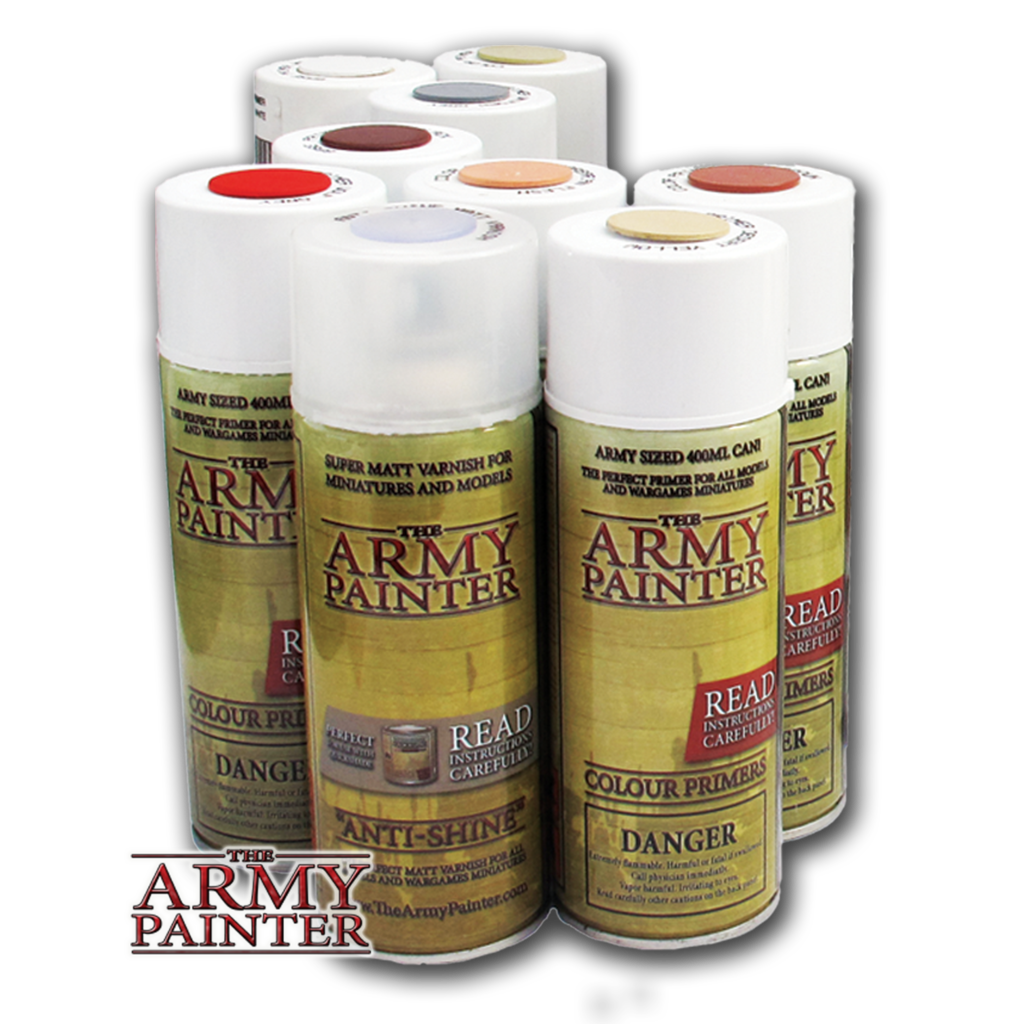
Their primers come in all kinds of colors to help you get that basecoat/prime down fast:
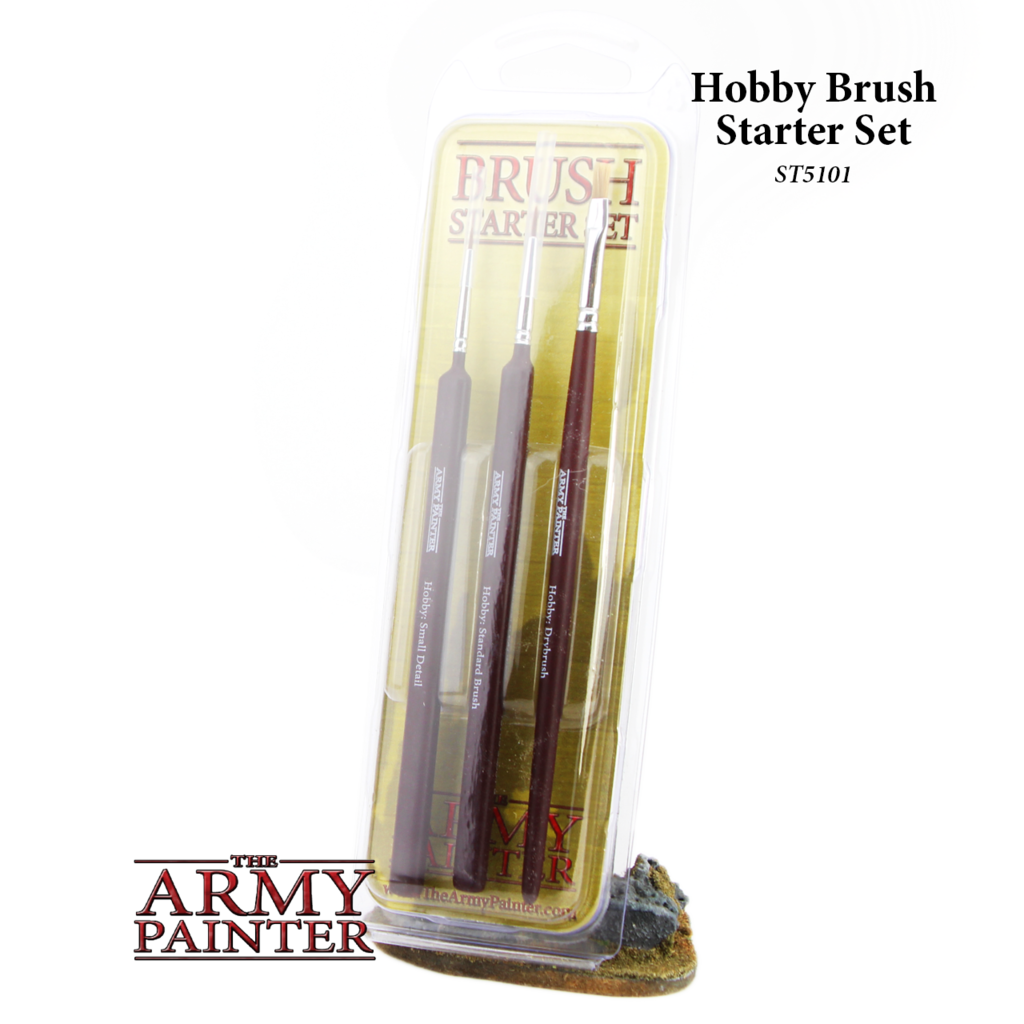
Also, you can get some good starter brush sets as well:
I have had some experience with this brand and can say that they do indeed make a very good line of paints and hobby supplies
More info will be coming in the days ahead regarding other ranges and beginner tips…
Luckily, TWD: All Out War miniatures are in one single piece and do not require assembly. However, picking up some good modeling glue (personally I prefer krazy glue gel) and an X-acto knife would be a good idea as well.
You will need:
• Primer - recommend aerosol spray-can types , suitable for plastics, I’d stick with miniature specific companies if you can.
• Brushes – at least two or three would be a good start: Fine Detail Brush (very small tip), Standard Brush (medium size tips) and a Base Coat Brush (larger tip).
• Paints – A nice selection of the colors you like, a starter set from one of the miniature specific companies would be a good place to start. (5-10 paints would make a nice start).
How to get started:
1. Priming – is a very important first step and one that must be done. If the minis are not primed then the paint you apply will not adhere as well, and will eventually rub off. The good news is, that this is a fast and easy step and in recent years a multitude of colored primers have come onto the market to help you lay down the base color as well as the prime in one step.
a. Ensure you minis are clean and free from dirt or residue
b. Select a warm dry place free of wind, to have better control of the spray can.
c. Keep the can back 6-8 inches from the mini and evenly coat the mini on all sides, on top and bottom, using short burst and not a continuous spray so you do not accidently over spray the mini.
2. Painting – now this step could go on forever, as there are many techniques, but for beginners we will stick with three basic techniques that will produce good results in the beginner stage. Some general tips are to ensure that you clean you brushes regularly every few minutes while you are paining and when changing colors, this will stop paint from drying and sticking to the brush. Simply dipping it in some water and drying it on a paper towel will do the trick. Also, clean the brush when you are done as well. Placing a few drops of the color you are using on a palette or a plastic surface and mixing in a drop of water to the paint will help with achieving smooth even coverage as well.
A. Base Coat – this involves painting on a single solid color to an area of the mini: Let’s say: blue for paints and red for a tee-shirt and steel for a gun. It is better to use multiple thin coats and allow them to dry, then a single thick coat which could clog up the mini’s details. (A Standard or Base Coat brush would work well for this step on larger areas, and a fine detail brush for small areas).
B. Highlight – there are many ways to do this, but for now we will stick with two basic types.
i. Directly painting on the highlights to raised sections and edges of the miniatures using a color that is slightly lighter than the base coat color you have applied. Using a fine tip brush with thin highlight lines will work best in this step.
ii. Dry brushing – this is a technique that can be used in many ways, highlighting is one of them. This involves applying paint to the bush (lighter than the base coat of the area you want to paint), then using a paper towel, remove most of the paint from the brush until only a little remains, then quickly stroke the brush over the area you want to highlight and the little paint remaining on the brush will be applied to raised areas on the mini. (the size of the area will help you determine which brush is best)
C. Shading/Washing – This step can be done before the highlight, but I like to do it after the highlight. This step will require a specialized paint called a Wash or Shade, these are very watery type paints, that seep into the recess of the minis then dry. They come in many colors, theoretically you can use an earth shade for almost any color base coat, but I recommended using a wash that is similar to the base coat i.e. green base coat, green wash. Simply load the brush with the wash and apply evenly to the entire area you wish to shade in the same fashion as a base coat. (Also, if you wish, you can skip the highlight step and simply base coat and wash for decent results).
3. Basing – this is an optional step. However, in the very least, I would suggest painting the bases a solid color (black or gray) to clean them up, because they will be messy after the painting process. The idea behind basing a mini, is to replicate the ground or surface a mini would be standing on. Basing a mini involves gluing flock or sand, (or any other type of material you think will achieve the look you are going for), to the base, then painting it up to replicate ground. This could be a grassy field or a paved surface.
More info to come….
Here is some quick info on paints from the Army Painter Range (just to get some discussion started on this topic):
Army Painter, considering their ties with Zombicide , have some great starter sets for good prices that can really help a newbie out:

Their primers come in all kinds of colors to help you get that basecoat/prime down fast:

Also, you can get some good starter brush sets as well:

I have had some experience with this brand and can say that they do indeed make a very good line of paints and hobby supplies
More info will be coming in the days ahead regarding other ranges and beginner tips…


